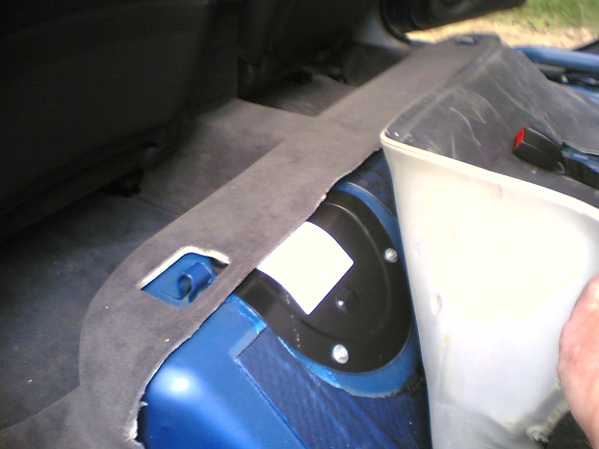
Misfires on the ZTT can be caused by one of 2 issues:
A) The fuel system delivering poor fuel pressure due to the fuel filter assembly coming apart.
If you want to try it yourself there is a
fantastic article
on the MGOC website on how to replace the fuel pump by Roger Parker.
Below is
ZTTMAN’s abridged version!
The fuel unit is on the nearside, under the rear
seat. (I think its function is to hold fuel at the pick up point within
the tank
&
when it unscrews, the fuel just falls back into the tank)
If the AA is fixing this, their rules apparently say the tank must be half full or less to avoid fuel spillage. The AA will have to use the old hammer and chisel routine to loosen the locking ring and re-tighten it as no special tool is available on their vans. This means it is only classed as a temporary repair, and you will be advised to get it checked and retightened by a dealer.
* Just remember that we are talking about dealing with an open topped fuel tank inside a car here, so no naked lights / sparks / power tools and loads of ventilation, plus avoidance of spillage *
1) Remove the rear seat squab (Pull the front
upwards to
unclip then push backwards to release at rear. It will probably require
a
grovel underneath the raised squab to help release the rear.)

2) Remove the body cover plate over the
filter /
regulator
assembly (That is the access plate on the left hand side behind the
passenger
seat [
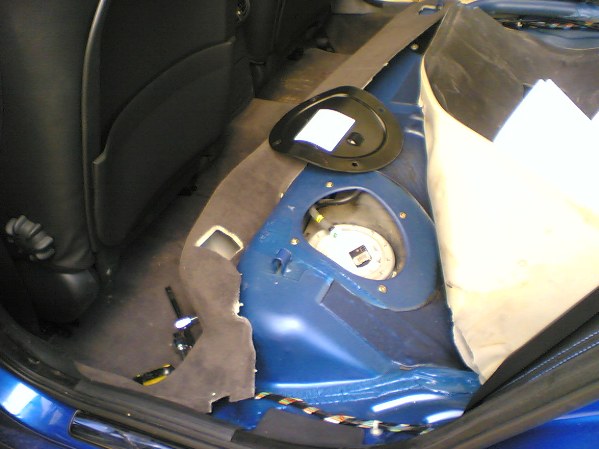
3) Release any trapped pressure in the fuel
system
by
depressing the Schrader valve (under a trendy coloured dust cap by the
throttle
body under the bonnet)
4) Detach the push fit fuel pipe by pushing in the green retainer clip and tie back out of the way.
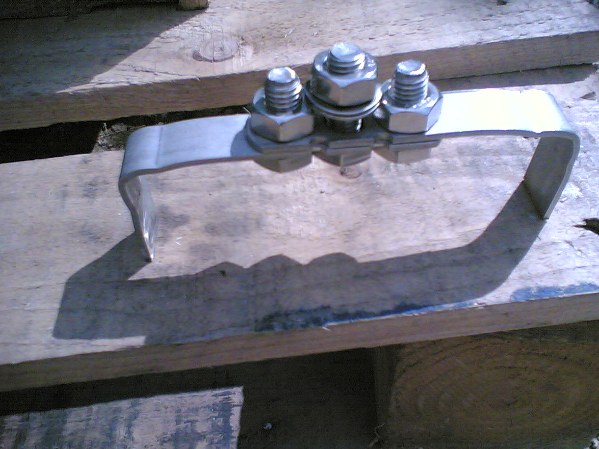
5) Make up a simple metal tool to remove the
locking ring,
and detach it. (mine was actually made from a couple of stainless steel
wall
ties bolted together, but whatever you use, it must be capable of the
38Nm
installation torque)
6) Partially remove the filter regulator
assembly,
and twist
both halves firmly back together and fit the clip (The joint is
immediately above the
stainless
steel reinforcing band)
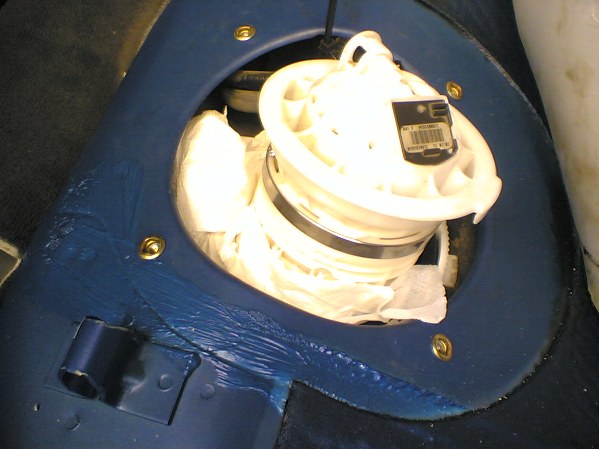
Or use a smalll self tapper screw to hold the
halves together
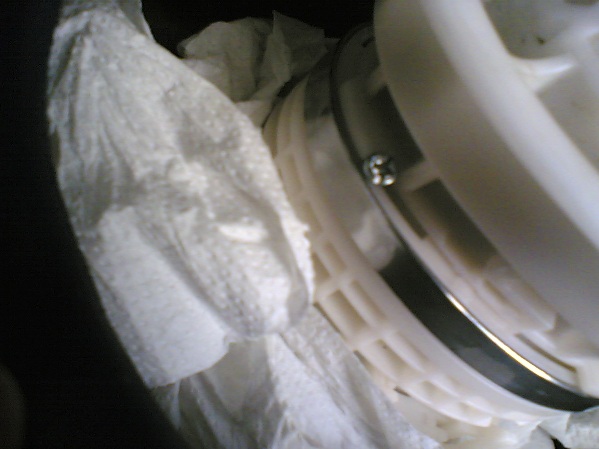
7) Reassemble by reversing the process, and ensuring that the seal between the tank and assembly is correctly installed and the locking ring torqued to 38Nm.